My Vim Story
TLDR; after several years with Vim I’d found that it’s difficult to leave the editor even if I know
about :q!.

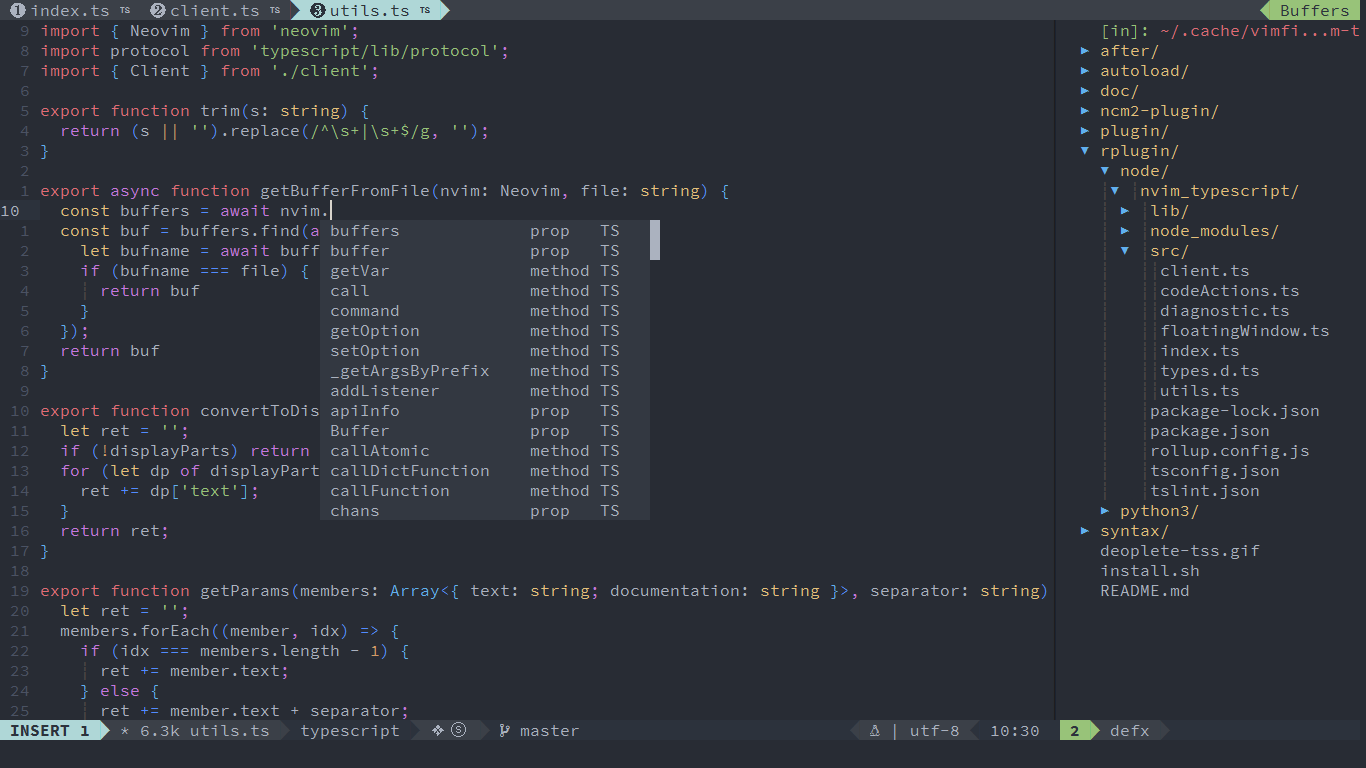
I use Vim for a long time. For the first time, Vim looked confusing and illogical comparing with mainstream IDEs like Eclipse or NetBeans. What is the purpose of different Vim modes? Why there are no menu and tabs on the interface? Why do commands for ordinary actions look like combos from Mortal Kombat? I asked myself these questions every day. Today I do not understand why I’d started this journey and why I’d not abandoned it after several months. I’m pretty sure that today I would not start something like this.
The primary task that I solved using Vim was the editing of source code and configs on the Linux servers. There was nano, but I did not like it, because it was too primitive and lacked a lot of useful features, so I was looking for something more advanced. I had no admin rights on that servers, that is why it was impossible to install something different. Even today I do not know what alternative editor I could try. Emacs? May be. But life turned out the way it turned out.
It was difficult to get used to the idea of
modes, that is why typing was a
torture. But everything changed as soon as I’d stopped using arrow keys and switched to hjkl.
Later, I’d achieved the next level of Vim skills when I’d found
macros. Assume, there are 100 uniform lines (it’s a typical
for some sort of Linux configs) and I need to change these lines somehow. Sometimes it’s easier for
me to plan a sequence of actions (like, delete a word, move the cursor to the end of the line, add a
comma and go to the next line) rather than write a regular expression. Here, recording a macro is
the best way to solve the problem.
I’d tried to switch from Vim to Visual Studio Code and Sublime
Text several times, but always returned, because it’s difficult to
work without core Vim features like marks,
folding or
splits. An example of my
everyday task: remove all symbols before :. It’s possible to do this in Vim simply type dt:,
without mouse, without deleting symbols manually one by one.
Vim is a hugely customizable platform: just compare default config, spacevim and vim.spf13. Nowadays, LSPs are available for different programming languages, so even if Vim does not have build in support for some programming language, it’s always possible to use plugins from the other editors.

If you want to try Vim, I suggest looking through the official tutorial: type vimtutor in the
terminal and follow the instructions. Recently I’d found that Frontend Masters have developed a
high-quality course VIM Fundamentals that
covers different aspects of the editor, so you can try it.
Some time ago I’d found a vim-pedal project on GitHub. It’s a
device, recognized by as a USB keyboard. The device generates i symbol on press and ESC on
release. The user moves the cursor around the document in normal mode and when it’s required to
inserts something — presses the pedal, insert some string and then releases the pedal. It looked
interesting.
I’d decided to implement a prototype of such a device using STM32 microcontroller and digital piano pedal. I’d bought Cherub WTB-004. Some user reviews said that the pedal had a loud click, and that is why it’s not the best choice for piano players, but for me the pedal sounds like a mechanical keyboard with blue switches and I like it. I’d taken my Nucleo-64 evaluation kit out of the cabinet and had started prototyping.
I can’t say that I’d developed nothing for microcontrollers, but most of the time I used AVR chips. I used Vim to write code, avr-gcc to build a binary and avrdude to upload the program to the on-chip memory. As I found, in the STM32 world the software development looks a bit more complicated, especially for newbie. Almost any tutorial from the Internet relies on the IDE and some standard libraries. I’m sure that it’s possible to use only Vim and the terminal to build STM32 software, but I have limited time, so I went a mainstream way.
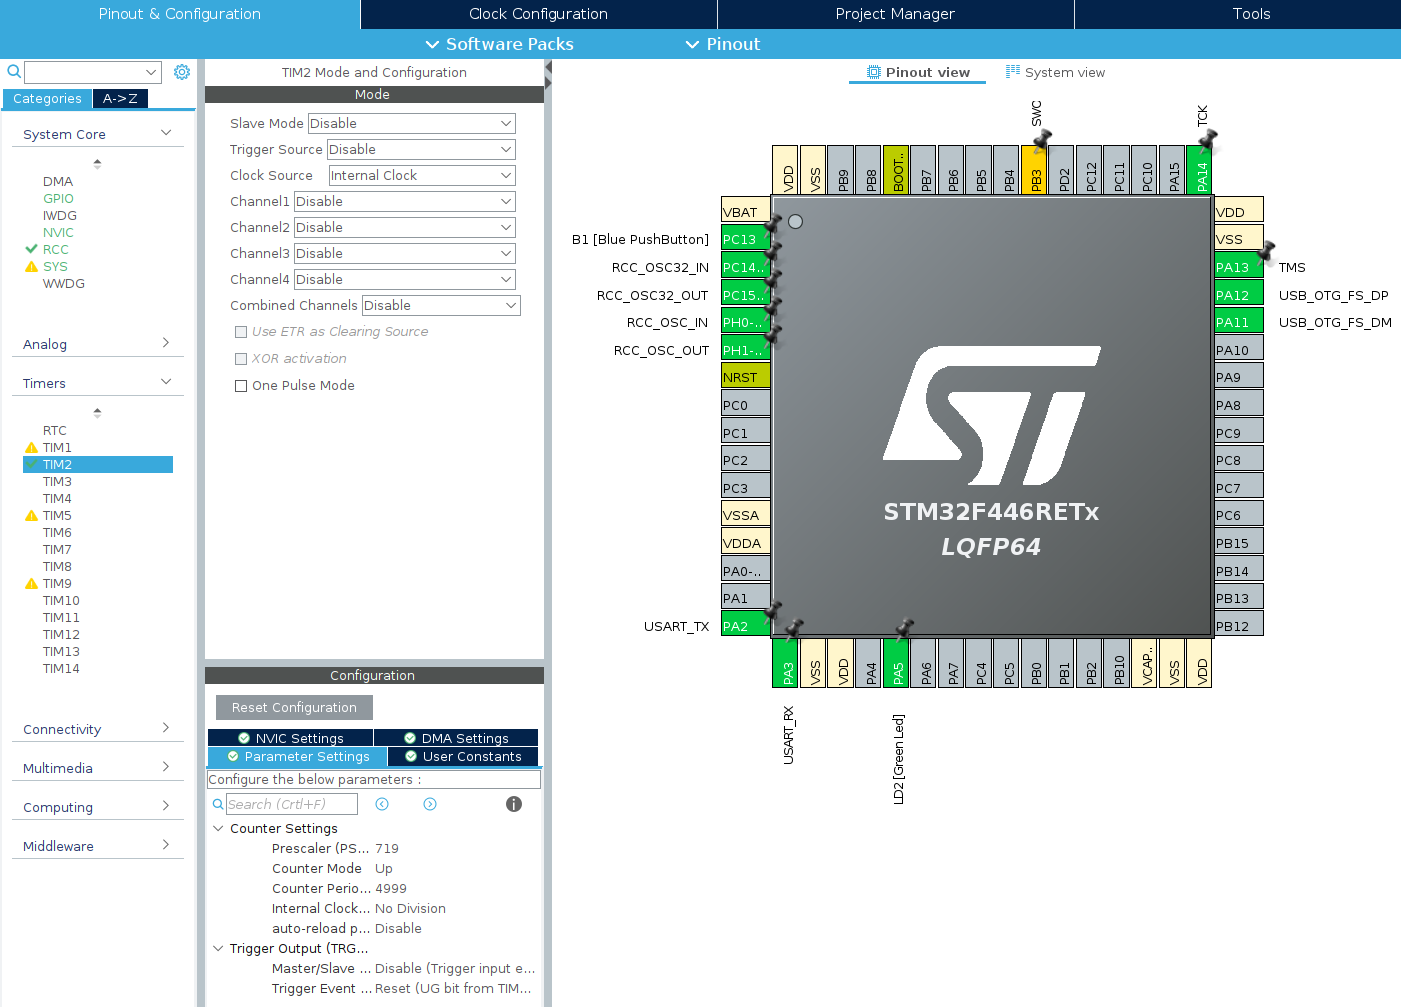
Most of the tutorials rely on the official IDE by ST Electronics — STM32CubeIDE. I’d found a Linux version on the ST Electronics site. One of the useful features of this IDE is a code generation: the developer selects a target microcontroller, enables and configures hardware interfaces and timers using GUI, then IDE generates all required boilerplate code and then the developer can focus on the business logic.

The first program I wrote was the classic “Hello, World” with blinking led. I found all the required information in the article from Hackster.
The next step was controlling the button state. It’s possible to read MCU pin state synchronously in
the main loop, using HAL_GPIO_ReadPin function:
GPIO_PINState btn_state;
// Main loop
while (1)
{
  btn_state = HAL_GPIO_ReadPin(GPIOC, GPIO_PIN_13);
  if (btn_state == GPIO_PIN_SET)
  {
    // High level on PC13
  }
  else
  {
    // Low level on PC13
  }
}
Sometimes such an approach is inconvenient. Assume an application should perform two actions: react on the button state change and send a block of data through UART. The transmission function is implemented in a synchronous manner, so if it starts sending data, the MCU can’t do anything else until the transmission is complete. If transmission takes a lot of time, the MCU can’t react on the button state change on time.
There is an approach that allows to perform several operations simultaneously. It’s called interrupts. When some external events, like button state change, occur, the MCU stops its main loop and executes an interrupt handler function. After that, MCU continues to execute the main loop. An example of button state change processing with interrupts is explained in the article from DeepBlue.
One problem I need to solve when working with mechanical buttons is a contact bounce. The button’s switches comprise spring materials. When any switch actuates, the contact touches one another. Under the force of actuation, continuity is expected at a single steady moment. But the momentum produced because of the mass of the moving contact and the inherent elasticity in this mechanism makes the contact bounce several times before achieving a steady contact and coming to a full rest. This effect is unnoticeable for devices like LED flashlight but it causes unwanted consequences when working with MCU.
One of the software ways to neutralize the contact bounce is adding a delay after first button state change detection. The MCU detects button state change, waits for some time (e.g. 20 ms) and after that checks the button state again.
In my code, I’d implemented contact bounce protection in such a way:
GPIO_PinState old_btn_state = 0;
GPIO_PinState new_btn_state = 0;

int main()
{
  // ...

  // Main loop
  while (1)
  {
    if (old_btn_state != new_btn_state) {
      old_btn_state = new_btn_state;

      // Button state had changed
      // ...
    }
  }
}

// External interrupt handler
void HAL_GPIO_EXTI_Callback(uint16_t GPIO_Pin)
{
  // The same interrupt handler is called for different buttons,
  // so check the target pin before further actions
  if(GPIO_Pin == GPIO_PIN_13)
  {
    // Disable further interrupts to solve contact bounce issues
    HAL_NVIC_DisableIRQ(EXTI15_10_IRQn);
    // Start timer
    HAL_TIM_Base_Start_IT(&htim2);
  }
}

// Timer interrupt handler
void HAL_TIM_PeriodElapsedCallback(TIM_HandleTypeDef *htim)
{
  // The same interrupt handler is called for different timers,
  // so check the target timer before further actions
  if(htim->Instance == TIM2)
  {
    // Stop the timer
    HAL_TIM_Base_Stop_IT(&htim2);

    // Enable external interrupts
    __HAL_GPIO_EXTI_CLEAR_IT(GPIO_PIN_13);
    NVIC_ClearPendingIRQ(EXTI15_10_IRQn);
    HAL_NVIC_EnableIRQ(EXTI15_10_IRQn);

    // Save new button state to process it in the main loop
    new_btn_state = HAL_GPIO_ReadPin(GPIOC, GPIO_PIN_13);
  }
}
Let’s say a few words about USB. Today, it’s one of the most popular protocols. It is used in different devices like keyboards, mice, cameras, flash drives and a lot more. The USB protocol specification can be found on an official site. It’s a huge document that is difficult to read, that is why I suggest reading USB in a NutShell first.
STM32F446 has a hardware USB support. It allows to work as a USB device using interrupts. Read an article from instructables circuits to find out how to configure STM MCU to work with USB.
I used code generation to add USB support into my project and found an annoying issue. By default, IDE configures the MCU to work as a USB mouse. I need to change several files to switch from a mouse to a keyboard. When I change some MCU settings in the GUI, it starts a new code generation cycle and reverts all previous changes. I use git and commit my changes from time to time. That is why this issue does not affect me a lot, but it’s better to know about it in advance.
After all modifications, my main function looks like this:
extern USBD_HandleTypeDef hUsbDeviceFS;

typedef struct
{
  uint8_t MODIFIER;
  uint8_t RESERVED;
  uint8_t KEYCODE1;
  uint8_t KEYCODE2;
  uint8_t KEYCODE3;
  uint8_t KEYCODE4;
  uint8_t KEYCODE5;
  uint8_t KEYCODE6;
} keyboardHID;

keyboardHID keyboardhid = {0, 0, 0, 0, 0, 0, 0, 0};

GPIO_PinState old_btn_state = 0;
GPIO_PinState new_btn_state = 0;

int main()
{
  /* Reset of all peripherals, Initializes the Flash interface and the Systick. */
  HAL_Init();

  /* Configure the system clock */
  SystemClock_Config();

  /* Initialize all configured peripherals */
  MX_GPIO_Init();
  MX_USART2_UART_Init();
  MX_USB_DEVICE_Init();
  MX_TIM2_Init();

  // Read initial button state
  new_btn_state = HAL_GPIO_ReadPin(GPIOC, GPIO_PIN_13);
  old_btn_state = new_btn_state;

  // Main loop
  while (1)
  {
    if (old_btn_state != new_btn_state) {
      old_btn_state = new_btn_state;

      if (new_btn_state)
      {
        keyboardhid.KEYCODE1 = 0x29; // Button released, generate ESC
      }
      else
      {
        keyboardhid.KEYCODE1 = 0x0C; // Button pressed, generate i
      }

      // Send virtual keyboard key pressed
      USBD_HID_SendReport(&hUsbDeviceFS, (uint8_t *)&keyboardhid, sizeof(keyboardhid));
      HAL_Delay(50);

      // Send virtual keyboard key released
      keyboardhid.KEYCODE1 = 0x00;
      USBD_HID_SendReport(&hUsbDeviceFS, (uint8_t *)&keyboardhid, sizeof(keyboardhid));
    }
  }
}
I was working with Vim pedal for several days. It was an interesting experiment. Suddenly, I’d
realized, that I often switches from normal mode to insert mode not only with i key but also with
different commands like cw, cc, A and I. I can’t use Vim pedal for such cases for now, so
some sort of further improvements are required.
In conclusion, I want to say that building the Vim keyboard was an outstanding adventure. I learned a lot of useful info about USB protocol, mechanical switches and improved STM32 programming skills.